Tuesday, 18 May 2021

Graphics detail


As can be seen in the "before" pictures below, windstar's graphics were getting tired.

I found an app online and after experimenting with a few different approaches I decided that radical change was not required, and that windstar could be enlivened with a few tweaks to the basic theme.


Tired.....


The graphics were likely installed in the late 1980's and looked ok from afar but far from OK up close.    Time to refresh!


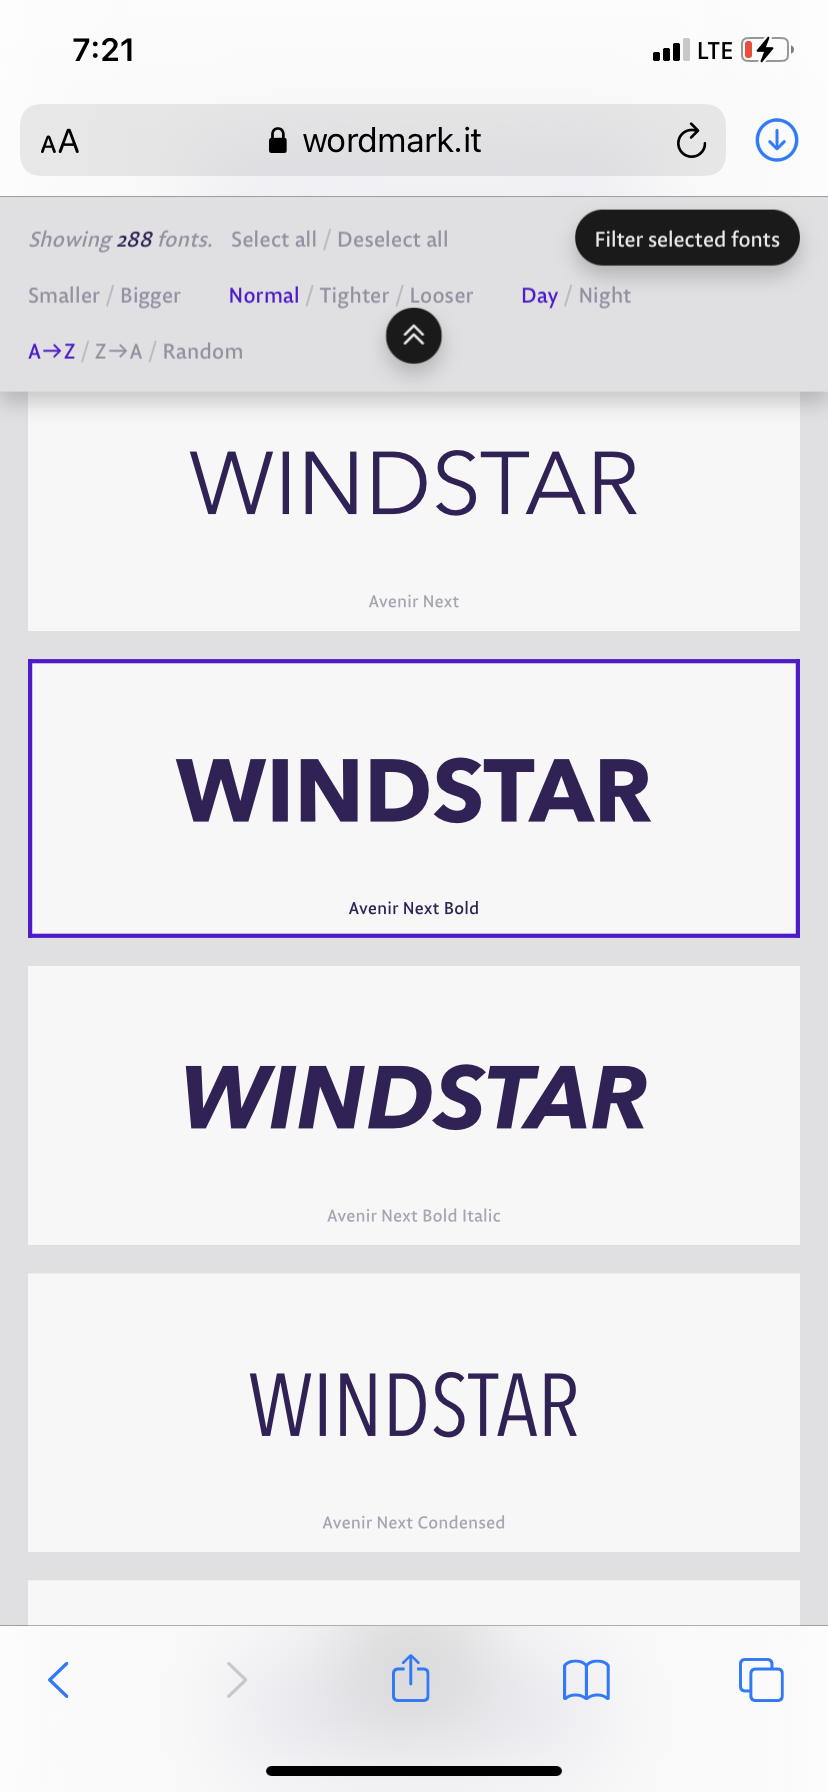
Below are the fonts and materials chosen, and the specification provided to Derrick at Edgevinyl.  the screen font may not be 100% accurate.


1)       - To be used for topsides, port and starboard.  Existing letter height 7”, baseline width 53”.  W is 9 7/8” across its top, line weight 2 ¾”.    

a.       Font below is Avenir Next LT Pro bold italic.

WINDSTAR

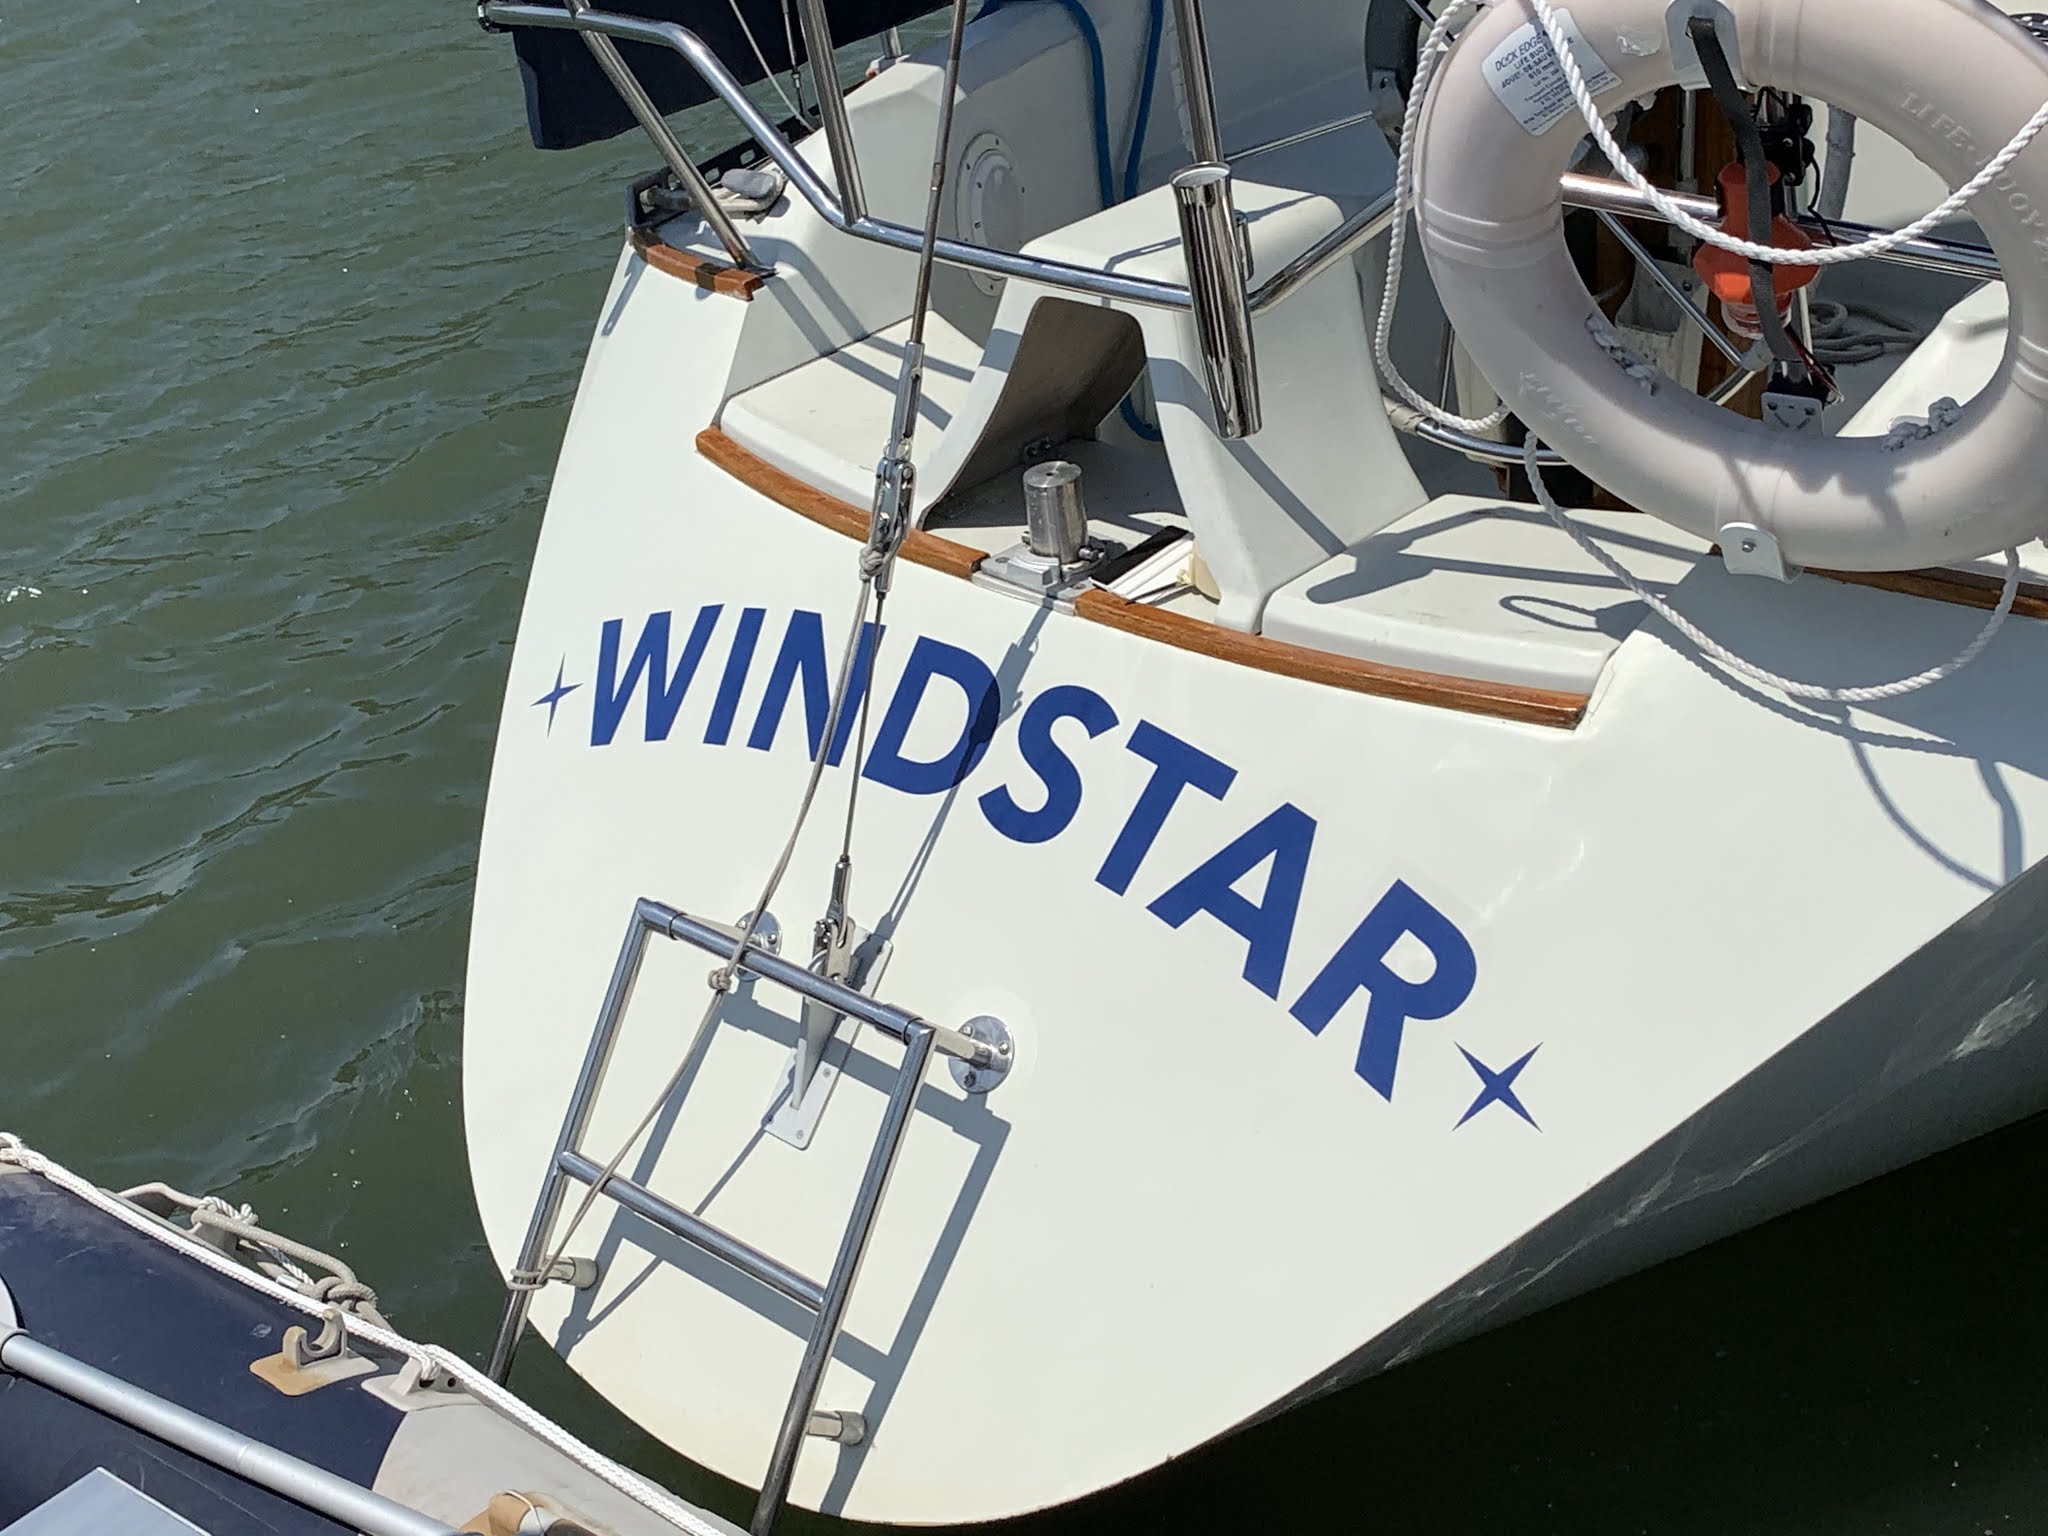
2)        -  To be used for transom, letter height 6”, approx. 74” radius, baseline width (chord) approx. 45” as per current.    W is 8 3/8” across top, line weight is 1 9/16”.  (note - this was later determined to be an elliptical arc, so the radius is not a constant 74")

a.      Font below is Avenir Next LT Pro bold.

WINDSTAR

3)       -  To be used the reg numbers on either side of the bow, and also for the transom, applied below name horizontally as is currently.  Letters are 3” high, line weight ½”. 

a.      Font below is Avenir Next LT Pro Demi.

b.      As there will only be one row of text, letter height should increase to 4”.

TORONTO

We also created a four pointed star and Derrick incorporated that into the transom file.   The fonts chosen above were not all available in Derrick's go-to program Corel Draw, so we chose close approximations.   The curve was not actually a constant radius, it is a section of an ellipse.   Derrick fixed that in Corel.


All done!


Nice job by Derrick Reid.   The material used is FDC Lumina 4200 sign vinyl, the colour is their 011 Dark Blue.


Windstar photos 2021

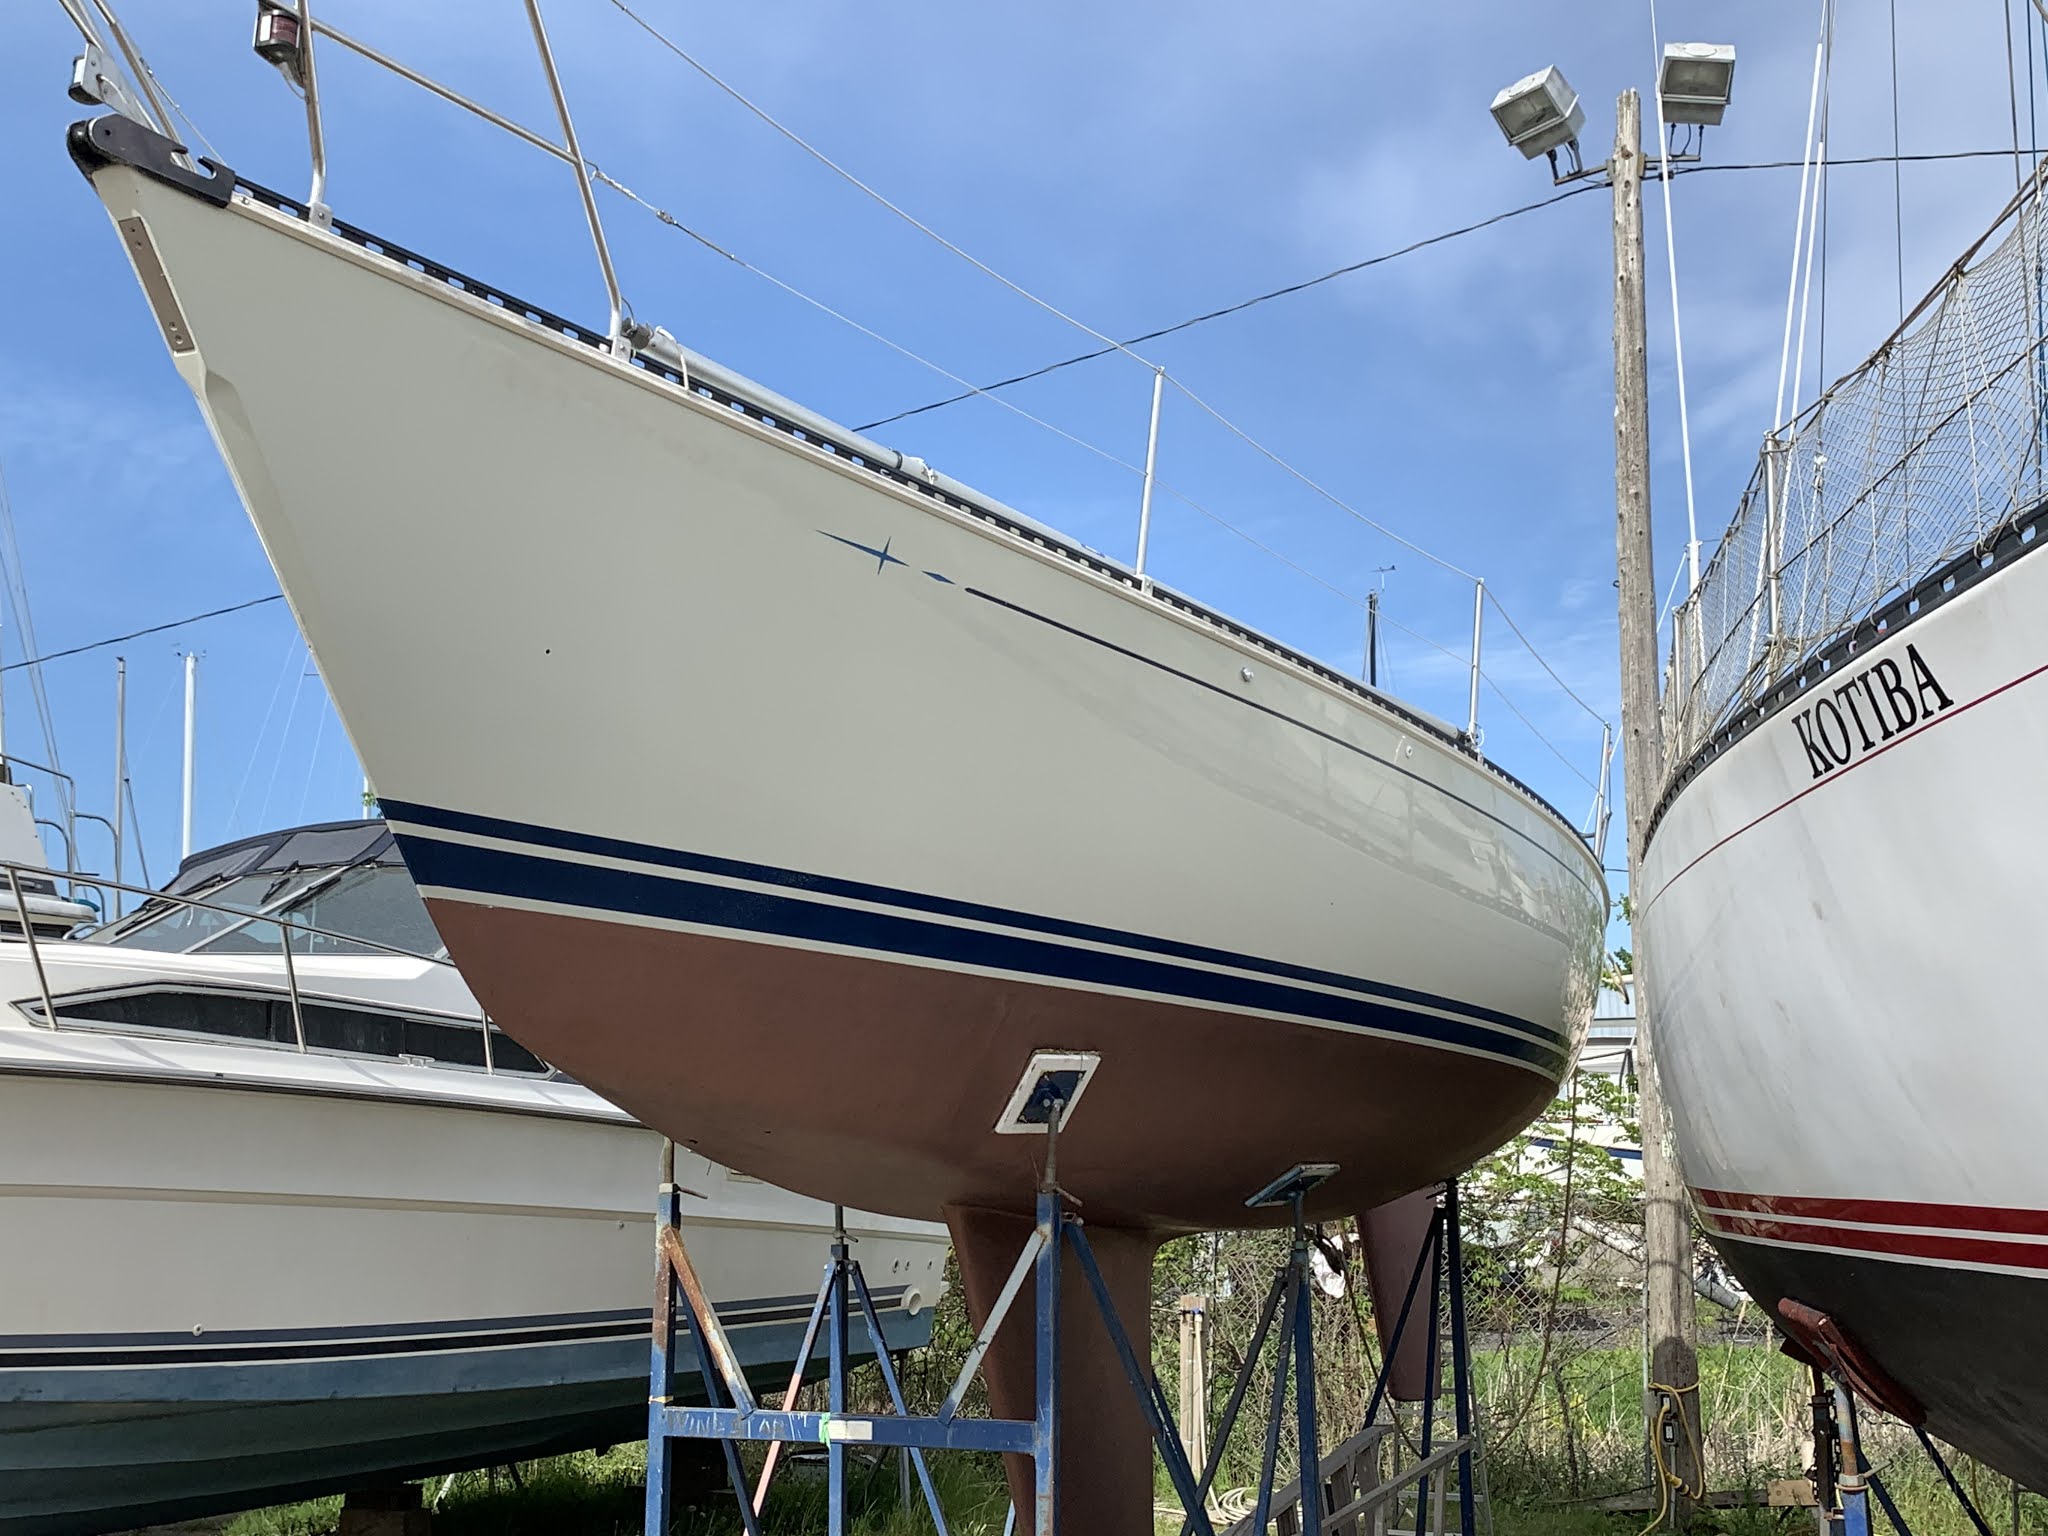
 Assembling these photos as the next boat may be on the  horizon.   As we await launch (late May 2021) windstar is in the best condition she’s been in since we acquired her.   


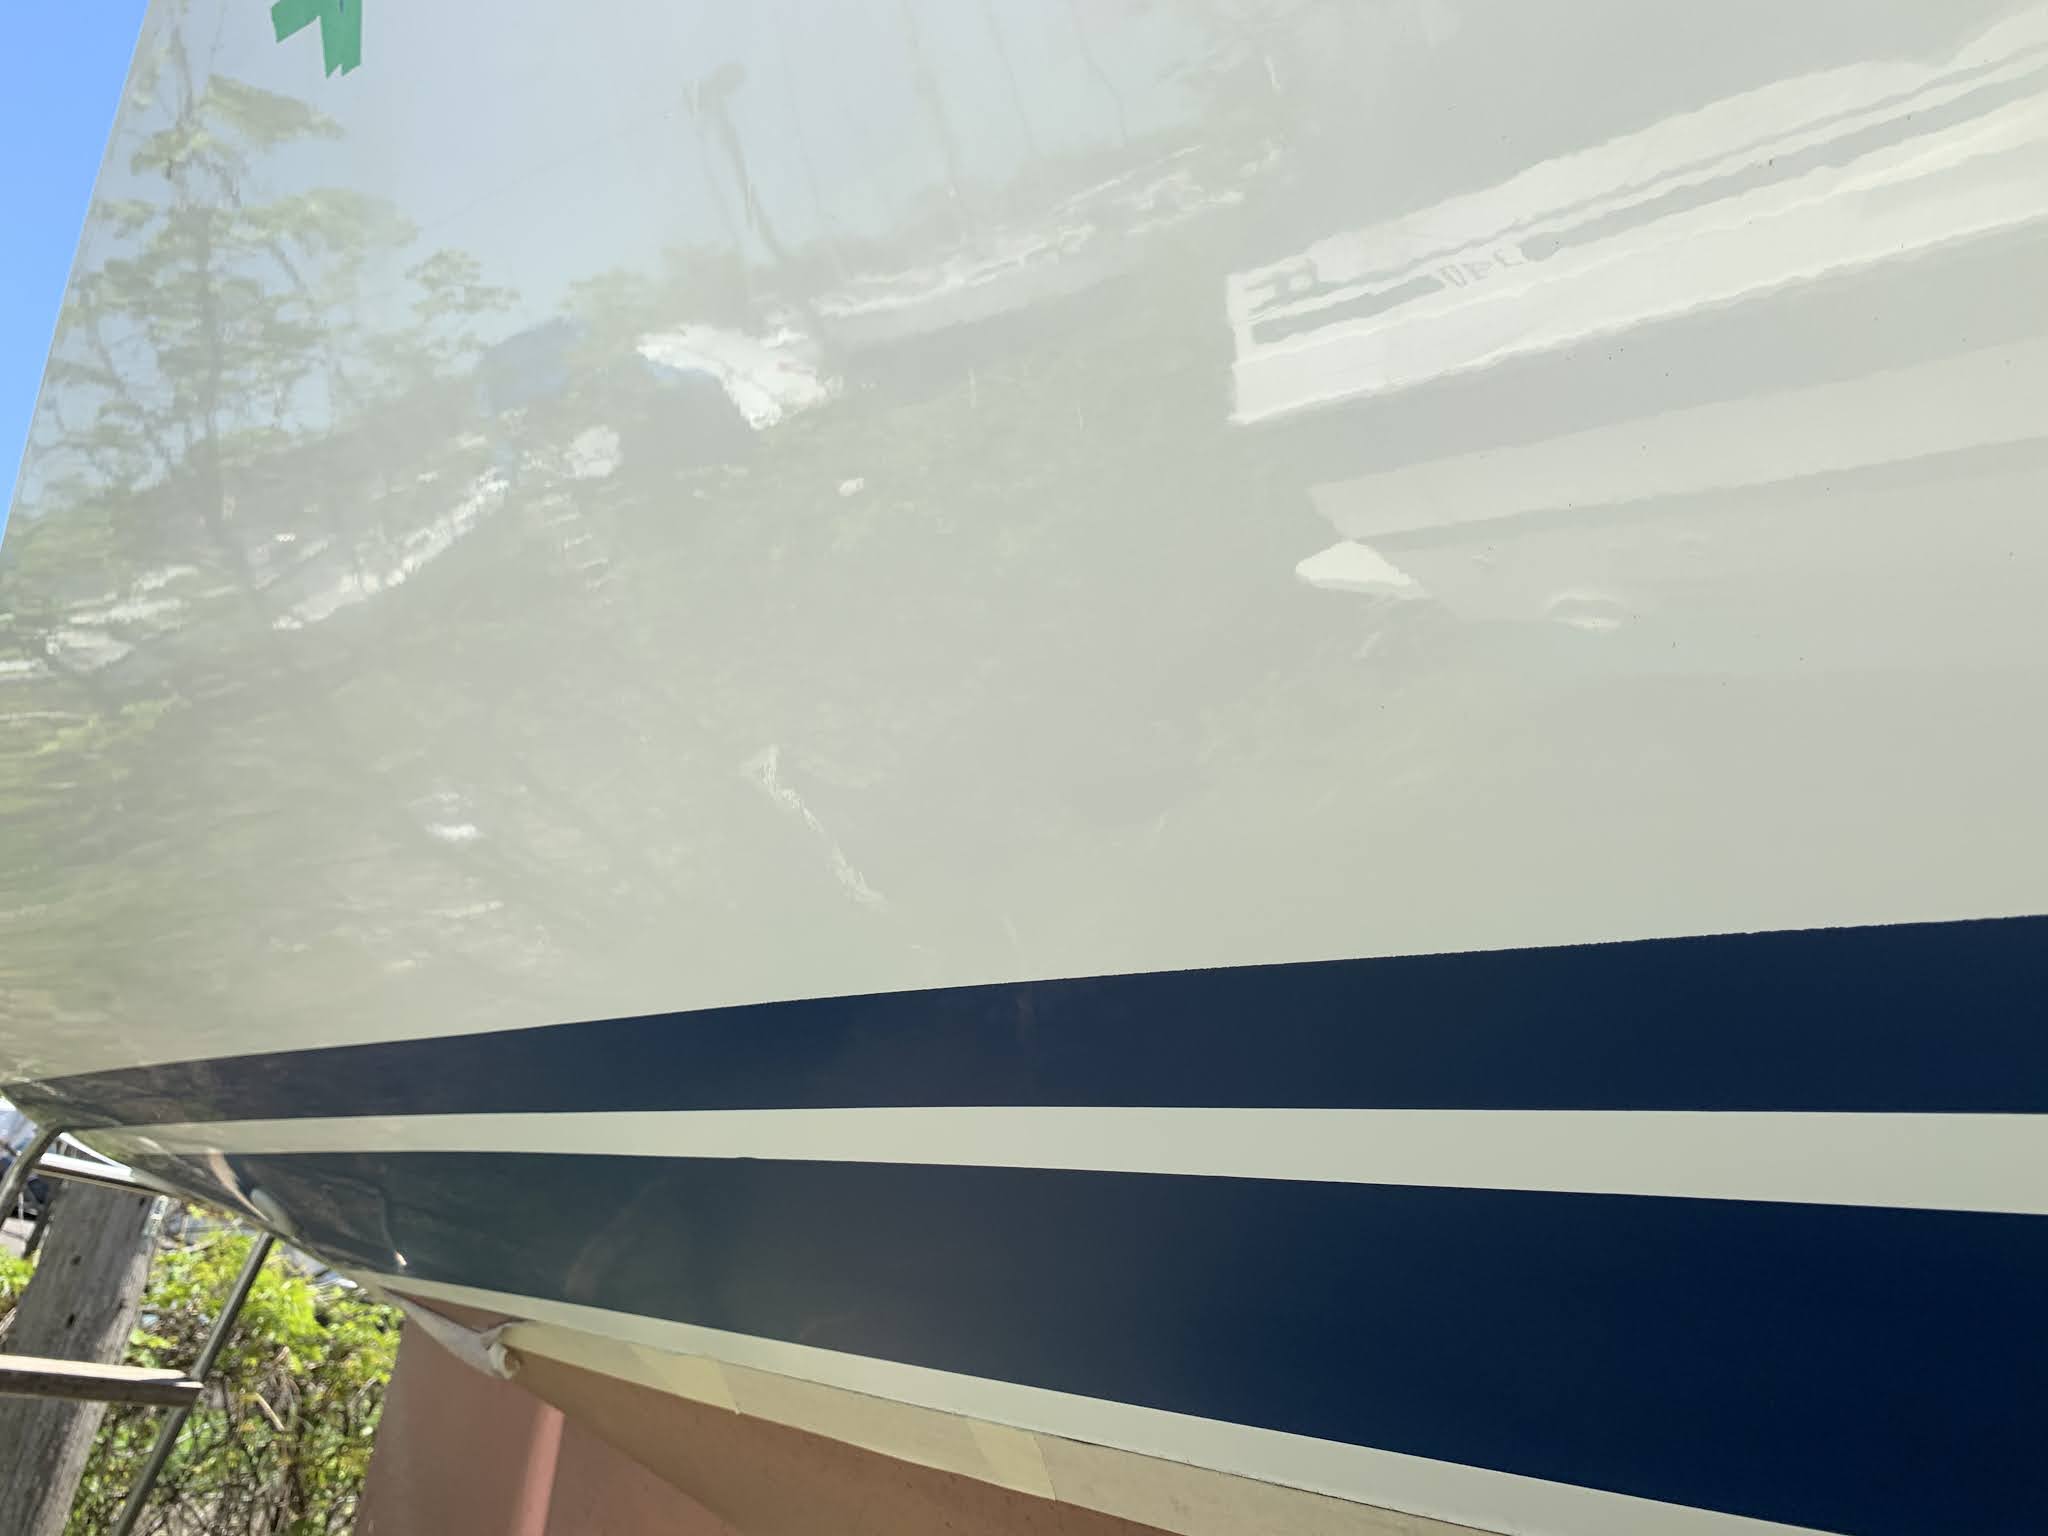
Hull buffing and prep for fresh Graphics

May 2021, and a covid-related launch delay provided and extra four weeks to tackle some work, so I elected to replace the tired decals with new, and to polish, wax and buff the hull properly.     I'd never really committed to mastering this in the past.   


I asked an expert friend for direction and he provided the three points below.   

1)      Wash the hull sides with soapy water and a brush.  Use a healthy dose of Dawn dish detergent for the soap.  You will be amazed how much oxidization this removes.  Dawn is very harsh.  Do use it other than as a stripping wash

[I found that the gelcoat was raised where the letters had been adhered.   A weird but common phenomenon.  Google it.    This area required some wet sanding and I finally landed on a progression of 600-800-1500 grits.  After the 1500, a rubbing compound is required prior to commencing the next step.   The rubbing compound was also required to freshen the oxidized boot stripes.  I used a cheap palm buffer for this with its sponge pad.]

2)      Use Meguiar’s Marine / RV Oxidation Remover (M4916) and apply it with a wool bonnet on a variable speed buffer (DeWalt, Makita or Porter-Cable).  I have a Makita.  Buff off left over dust with a soft microfiber cloth.

        I bought industry standard Makita and its great for this and will last my lifetime.   

3)      Use Meguiar’s Flagship Premium Marine Wax and apply it with a soft foam polishing pad on a variable speed buffer.  Buff off by hand with a plush microfiber cloth.

[I found the Makita was getting heavy and that working overhead and on a ladder all day was a  a tiring struggle.  I tried my WEN 10 orbital waxer with a terrycloth pad and got a much better result for applying the wax, very even and predictable.)   


First two - Ready for launch - awaiting decals.


Others, the work in progress. 


Sunday, 18 April 2021

Rudder barrier coat, bottom paint


 The VC-TAR on Windstar’s bottom has stood up for many years. It’s still resilient, and though cracking somewhat, and I decided to tackle stripping the rudder to see what might be required to do the entire bottom at some point.  

It is difficult to remove.  Good stuff I guess.   It is rubbery and clogs grinding discs and sandpaper, and resists even a stiff wire cup brush on an angle grinder.  I was finally able to use 1 litre of EZ strip and a sharp scraper to remove most of the material, and whatever remained was quite easy to sand off with 40 then 60 grit and a random orbit sander. The results below. Took about 4 hours total I imagine.   You can see at the lower aft corner my previous small epoxy/glass repair, where  I had noticed a small hairline crack several years back.  The repair was done carefully, is very solid, and the  rudder is sound and dry inside and appears never to have had a problem with water ingress.   

Later note - as COVID provided some time to smooth and fair a few other parts of windstar's bottom, I found the VC-Tar can indeed be sanded off - it takes patience, many discs, and a means of collecting the considerable dust.   

Newly coated with two thick layers of laminating epoxy, and will be faired prior to anti fouling.  See further below, it also received a coat of interprotect.


2 thick coats of epoxy and looking gnatty!


Meanwhile, just across the boatyard...

Love your rudder and it will love you back!   Don’t, and it will pay you back.   The image below was shot after haulout last year - this certainly surprised the owner, whose boat emerged from the lake with the exterior skin of its rudder dangling and the core exposed as you see.  He had not collided with anything, the rudder shell it had simply failed.  Probably waterlogged, froze, split, etc.
 Looking closely you could see evidence of a prior, substandard repair.


Back to Windstar - launch delayed by Covid, I decided to have a go at the bottom and clean it up a bit.  Did not remove  all the VC-Tar however I skim it with 60 grit and smooth a few small repairs and flaky spots - ready for VC17 bottom paint.  Also sanded some areas clean and epoxied some hasty fairing I had done in the past.   Photos for posterity, to document past touch-up repairs and interprotect.  She rarely gets any blisters (1-3 every third season maybe?) but you can see them all in the photos below.


Sanded fair and all touch-up areas coated  with interprotect 2000.  The rudder was given a coat as well even though it had already been well entombed in epoxy.  Obviously the interprotect was applied over a needlessly large area.  This type of work requires a good dust collection setup.


Friday, 9 April 2021

Revised battery area.


Before 


After


 The original battery tray is pictured above.  Located below the quarter berth, it is pretty typical, a piece of plywood with some shallow barriers and two plastic battery boxes retained by nylon straps, brackets, and tiny wood screws.     As built, there was insufficient height for lids for the battery boxes, creating some risk with the exposed terminals. 
 
(Am I the only one that struggles with those straps?   Am I the only one that wonders about the 1/2" wood screws securing 65lb batteries?)

  When I chose to upgrade to LiFePo batteries I decided to revise and refine the battery area to reduce its footprint, create some space improve its security, and better guard the battery terminals.  

I also discovered another repair opportunity - a "floating bulkhead".   See that repair here.

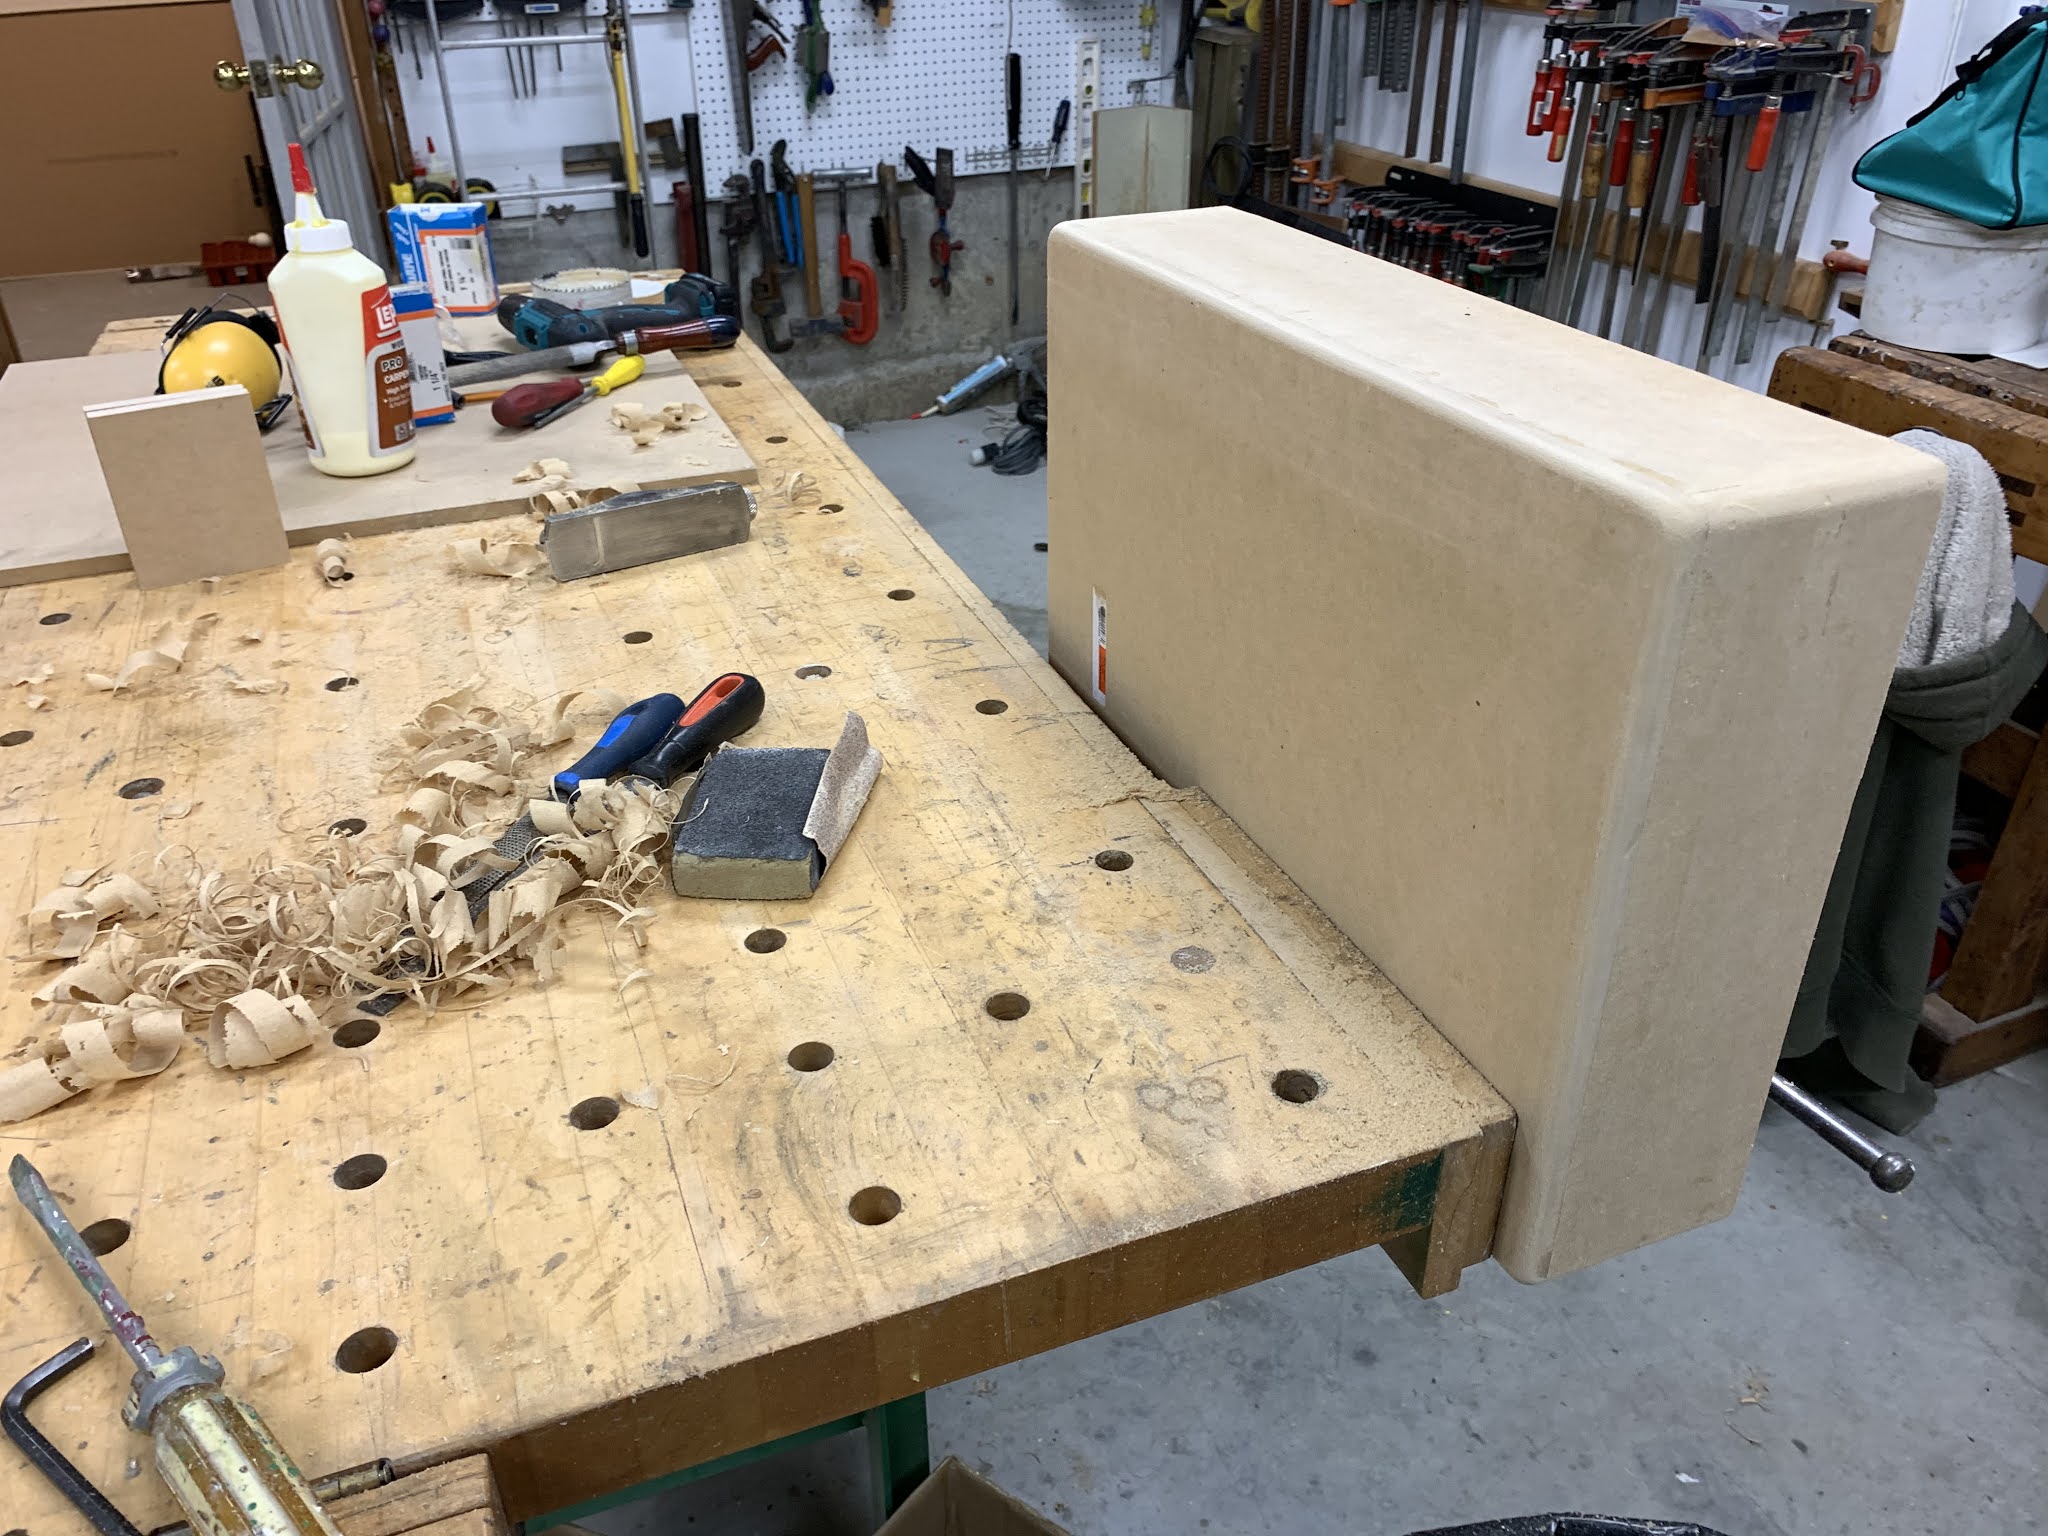
First step was to make a fiberglass tray incorporating a hold-down strap.  To do this I made an appropriate-sized mdf form, slightly larger than the batteries themselves.  The form was covered with waxed paper, and a wet fiberglass layup draped in place to cure.  With this approach, the batteries can sit much lower than before, with a reduced overall footprint.


Multiple layers of cloth and CSM  trimmed on a cutting mat - a handy  tool from another discipline.


That glass was then laid up on waxed paper on a sheet of plate glass, then placed on the form to cure.


And removed from the form.  Lookin’ ugly!  


Trimming.


The aft end shaped to fit the hull curvature 


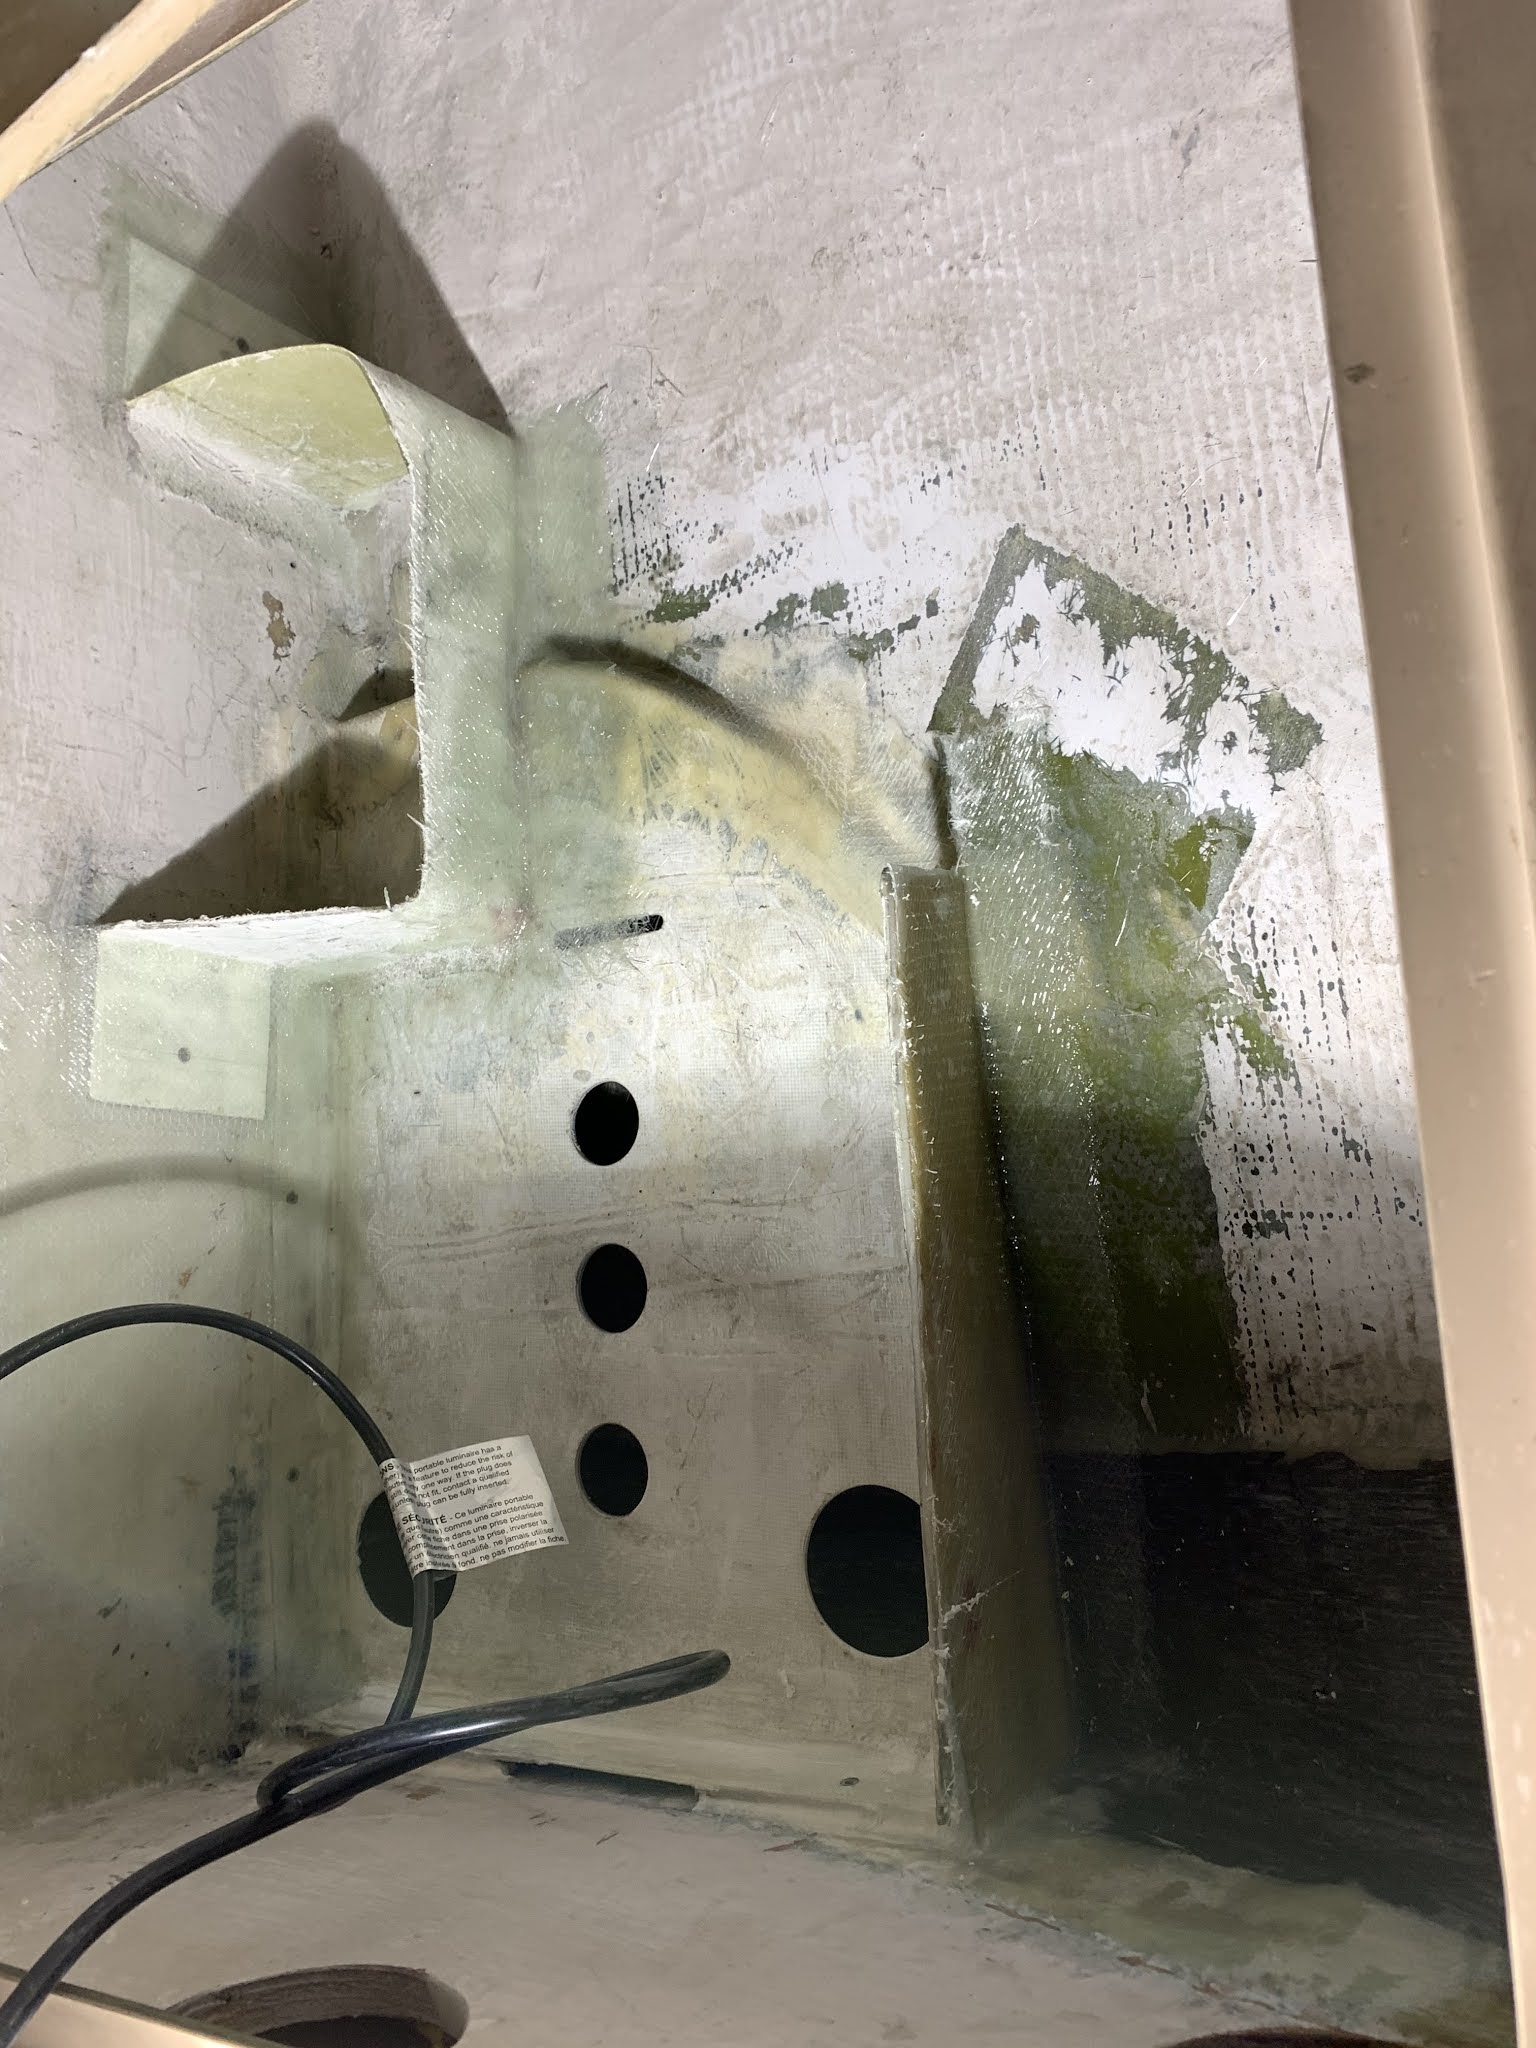
Stiffeners added to underside.   This part will be epoxied and glassed in place and integrated with the hull and bulkheads in this locker.
. 


Copper buss bars for parallel connection.  These are equivalent to "0" cable.  ("one ought") 


As I trial fitted the new battery tray, I was also considering the location of the new renogy solar controller, and how the wiring would be routed to it, the house, and start battery.  t  (I had previously run cabling and located a larger group 27 lead acid start battery in the cockpit locker as there was insufficient space for a group 27 and its box under the quarter berth.)

With this smaller platform, it became clear that the start battery would not only fit under the quarter berth, but that it could be positioned to help secure the house bank.  
Furthermore, I realized that the solar controller could also be located in that locker, and that this is also very close to the main battery selector, further consolidating all 12vdc infrastructure.  This significantly reduces the amount of cable involved, and eliminates the need for additional fuses.  Nice!

I now had to make a part to locate and secure the start battery, one that could be integrated into the house bank platform.    After pondering more complex approaches I decided to use the battery itself as a form, and to simply tape dual-layer corrugated cardboard to the battery to provide some clearance.  I covered that with waxed paper as before, and draped a thick dense layup over top.  Done.   


This bracket will be trimmed and fitted into the locker, then tabbed into place .

The start battery bracket fitted, and in the process of being glassed in place.  The screws serve only to secure the piece while the epoxy cures,  these are to be removed and the edges of the parts ground as close to flush as practical prior to tabbing the entire assembly in place.  


 ugly!  ...  tabbing-in halfway done.  I used polyester resin, cloth and CSM for the parts, but epoxy and biaxial stitch mat to fasten the parts in place.   Very strong stuff.

After some trimming and sanding


The roughing in is done, nearing completion with the solar controller installed.