Sunday 25 October 2020

Aft Keel Bolt Reinforcement


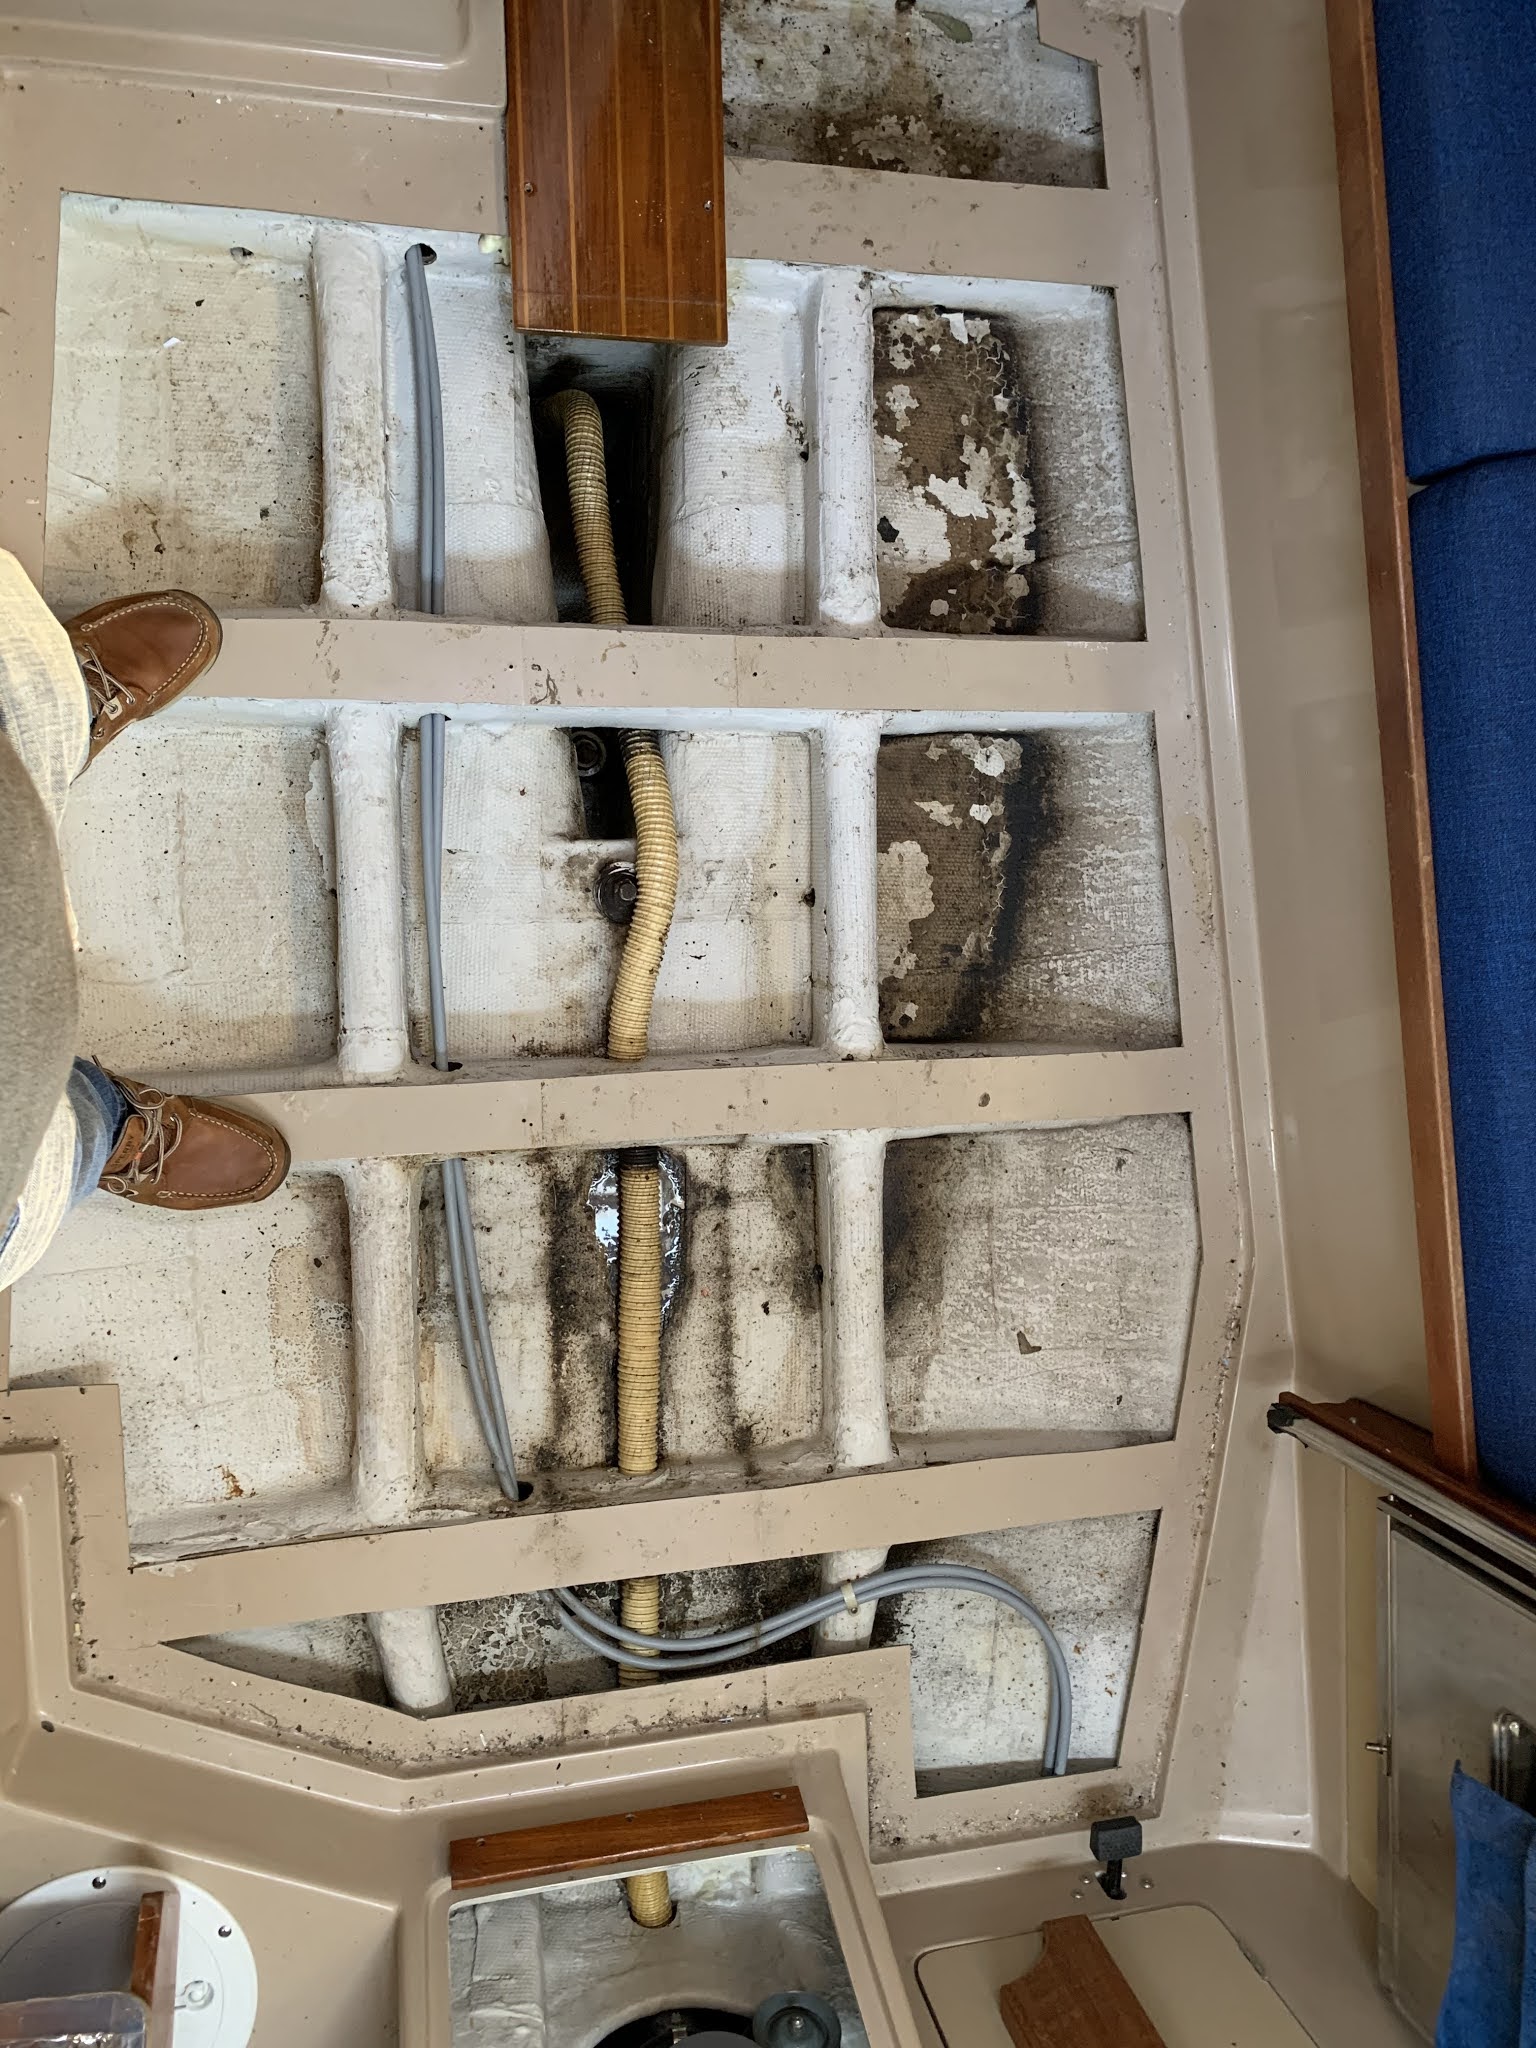
As I worked through sanding and painting the bilges and grinding the limber holes, I decided to give some attention to the aft keelbolt area, which had washers bearing on fibreglass with no extra reinforcement.  No real reason other than I had the area disassembled, had the required materials on hand, was in the process of painting, and it is intuitively a good idea.   

The area in question

A carbon fibre and glass pad was made first, dead flat.   This to be bedded into a dense epoxy/long-strand-glass/cabosil putty, with additional laminations of epoxy/biaxial stitch mat installed in situ.  Photo taken while determining the location of the hole to be bored for the bolt.  
The patient prepped.
The flat carbon/glass pad installed on top of the putty, still  uncured, with the next laminations laid up on a sheet of waxed paper, awaiting installation, wet on wet for the best comformability and bond.    The latter is made of several layers biaxial stitch-mat, each progressively smaller.  This makes a lamination that tapers toward each edge.  This makes sense structurally and finishes nicely.  The thinking is explained further in another blog post.
The lamination inverted and carefully placed, edges smoothed, and waxed paper on top to assist in forming a smooth finish.

And to finish.


While we're at it might as well make a new plate/washer.  Self-explanatory.


And the final result, epoxied and varnished cabin sole, new bilge pump hose, bolts re-bedded and torqued to spec.


Wednesday 14 October 2020

Battle of the bilge - Oct 2020

It must be getting toward time for a new boat as I am now addressing things that are minor annoyances.  

In this case its a few minor water traps that are harmless but harbour mildew if the boat is left for any length of time.  (sailing keeps this water moving and draining.)   Most production boats suffer from this to some extent, and can be improved with correctly located and finished "limber holes" that permit the water to drain and find its way down to the bilge sump, and with greater ventilation through all enclosed lockers and spaces.  I believe that the 33-2 would benefit from a grate replacing the centre panel of the cabin sole, and from lift-out sole boards in the rest.   This is quite doable, and I may just....

In Windstar’s case these limber holes were drilled in a variety of locations, but being round, and sometimes blocked somewhat with resin, they did not always allow the water to fully drain.  Improvement requires turning the round hole into a mousehole, and grinding away any resin blobs or build up that block the flow of water.  Fussy time consuming work that is understandably not first priority in a production setting.      

Below are photos of the bilge with teh cabin sole removed.   Note that in the photo below you can see a raised area in the hull indicating a small cored area or structural shape.   The 33-2 is widely described as having no cored areas below the waterline, however there may be a small area here, in the flat section forward of the keel.  Yes, the 33-2 has a flat bottom, forward of the keel.


The main cabin, below the sole (floorboards) where you can clearly see the beige liner and the lighter coloured hull and "spider" structural grid.   This grid is undamaged and remains as new.  
The liner in this area is not structural though it is bonded with putty to the top of the grid, to form a flat landing for the cabin sole.  The sole is screwed to the liner.  
The liner is bonded to the hull with both putty and fiberglass at the inner bottom inside edge of the settees and at the bottom of the space behind the seat backs.   The glass work is solid, smooth and well done and very sound.  This excellent bond most certainly incorporates the liner into the hull's structure.   

This most excellent bond below the settee does have one disadvantage, and that is that it does not permit water to drain.   (as when you allow the tank to overflow with the inspection port open, or when a tank fitting fails.)


In the two preceding photos you can see the "high tide" marks left by the standing water.   

While the boat was apart I pressure tested the water tank to 10psi.   No leaks.

Below after grinding the limber holes, cleaning, sanding and rough spots and glass edges, and painting.
Note that the bilge pump hose is being replaced as well.  (the original factory hose was intact but I felt it was prudent to renew, given its age)


....And since I was doing that, 8 coats of varnish on the cabin sole, and two thick coats of epoxy on the underside and end grain.   


.....and since I was doing that, I decided to reinforce the area where the aft keelbolt bears.   https://cncwindstar.blogspot.com/2020/10/aft-keel-bolt-reinforcement.html

...And since I was doing that, I figured I'd re-bed each keel bolt, add some reinforcing plates, and clean and polish the hardware.


Looking forward to messing it up next season!