Dealing with Deck fills.
Water ingress over time will penetrate a cored laminate, and eventually cause rot, delamination and failure. It is generally recommended that the core be removed in these areas and replaced with solid glass, leaving the core itself un-penetrated by fasteners or fittings. Failing that, holes or exposed core should at least be well sealed with epoxy to prevent water ingress. Windstar, as with many older production yachts, had simply had the deck fittings installed directly through the cored area of the deck, with no precautions taken.On Windstar, the fresh water deck fill and pump out fittings, though installed through balsa-cored areas of the deck, and had been well bedded with butyl tape. After over 30 years, the fittings remained watertight and the deck core dry and sound. While I was doing work that exposed this part of the deck, I took the opportunity to take the precautions I describe above.
First project, the fresh water fill.
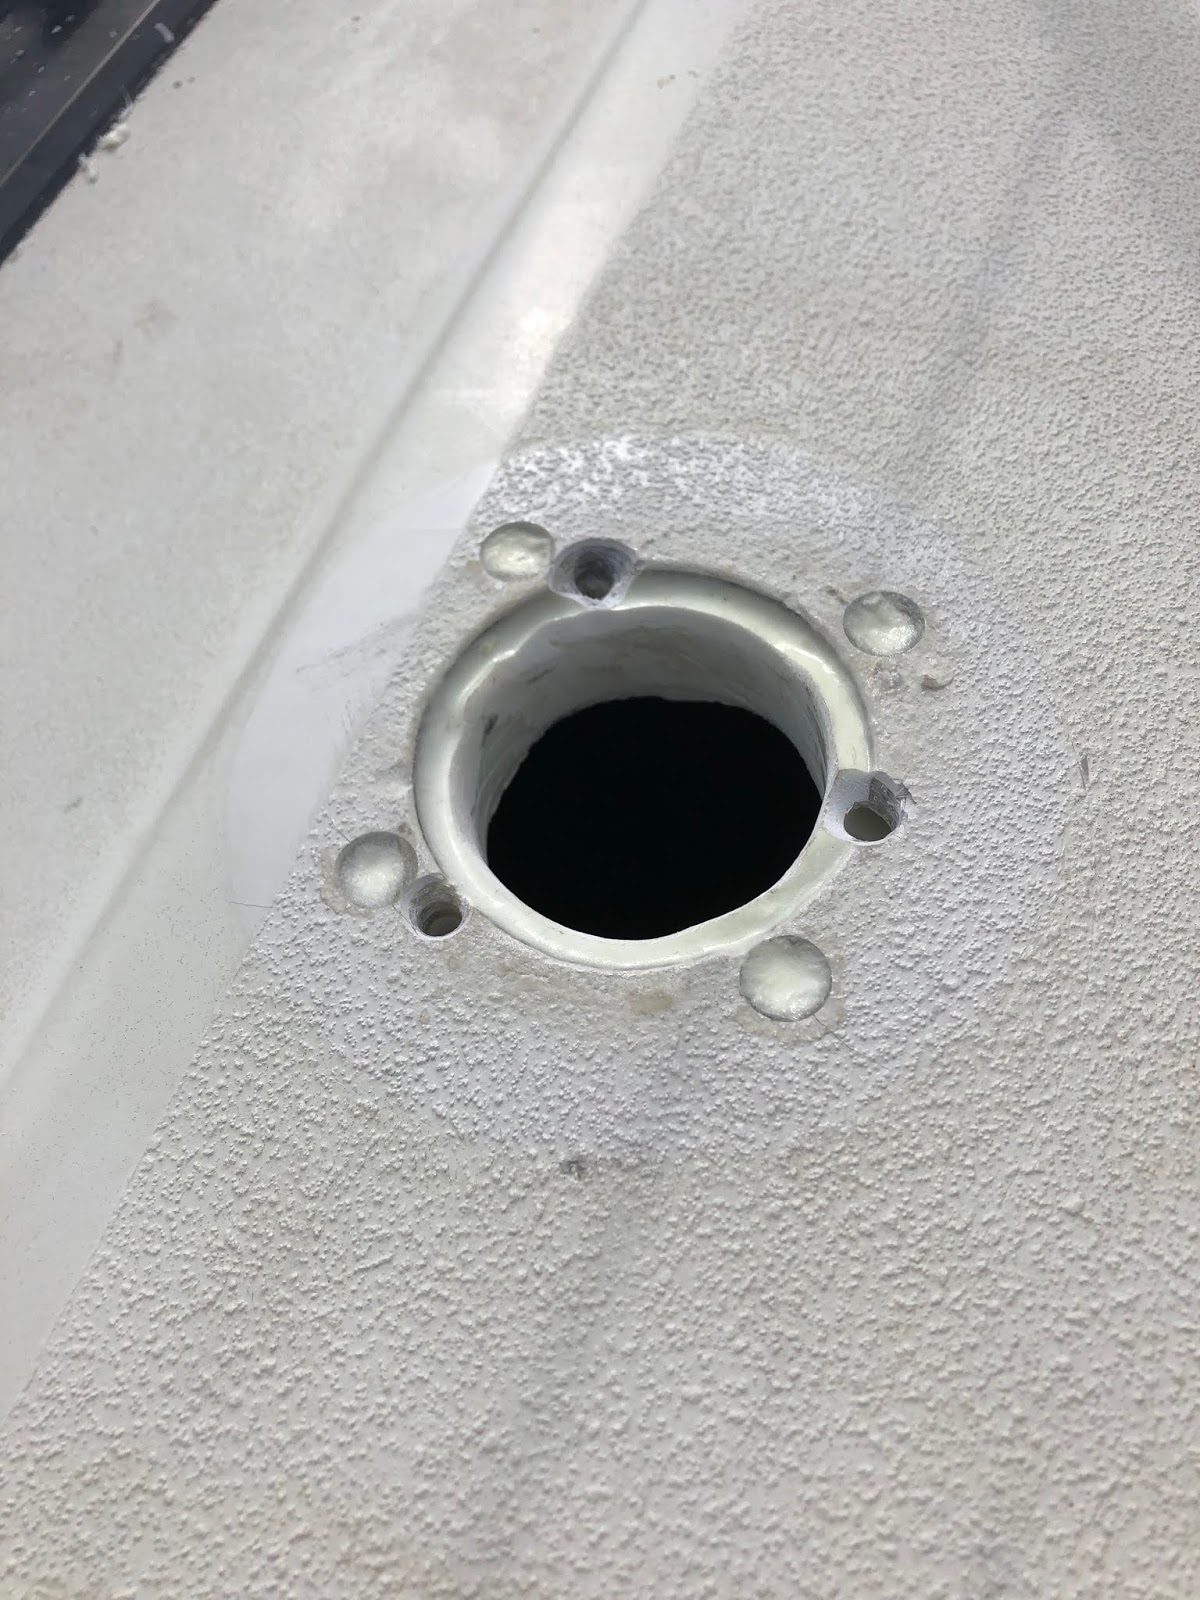
Below is an image of the deck fill penetration, which is through both the deck and liner. This is a real pain as it is necessary to remove the liner to inspect or work on the underside of the deck. Since I had elected to remove the liner to strengthen the deck to bulkhead joint anyway, it made sense to deal with the deck fill as well. See that project here.

After removing the liner, it was necessary to remove the core in a radius around the deck fill opening. This was done with an allen key chucked in a drill, working from above. Crude but very effective, it removes the core from approximately 1” around the existing hole. The pics should tell the story, but essentially the shaft of the key registers against the existing hole and the spinning key removes the core. Hold the drill with both hands!


And the fitting installed, (well-bedded with butyl tape of course) into a a solid fibreglass section of the deck.


Second project, different approach, the pump-out fitting.
For most situations, this is probably a better method of dealing with this task than I describe in the first section of this page.As before, the balsa core was removed using a cordless drill and allen key. In this case the Allen key was ground to the length required to remove only enough core to comfortably clear the screws of the replacement deck fill. The interior skin on the C&C is thick enough that it remained intact, which is a great help.
Using two hole saws and interior fibreglass retained from this project to make an interior reinforcing/backing washer for the fitting.


The gap created between the deck and inner skin was filled with epoxy/glass putty. The deck fill, which was wrapped with polyester packing tape and heavily waxed, with its backing plate, was then inserted from below. the remaining space and the screw holes were then filled with more glass/epoxy putty, and smoothed with a gloved finger.


The deck was then wiped down with an acetone-soaked rag. Once the epoxy cured, the fitting was pressed out. The opening was sanded to soften its edges and remove any "flash", and the fitting was reinstalled from above and the new screw holes drilled. The fit is quite precise, as you might imagine.

Because the previous holes were countersunk, they were not hidden by the new, smaller fitting. I elected to make a UHMW (starboard) pad to hide these. I used the same concentric holesaw technique above, and radiused the edges using a router table.


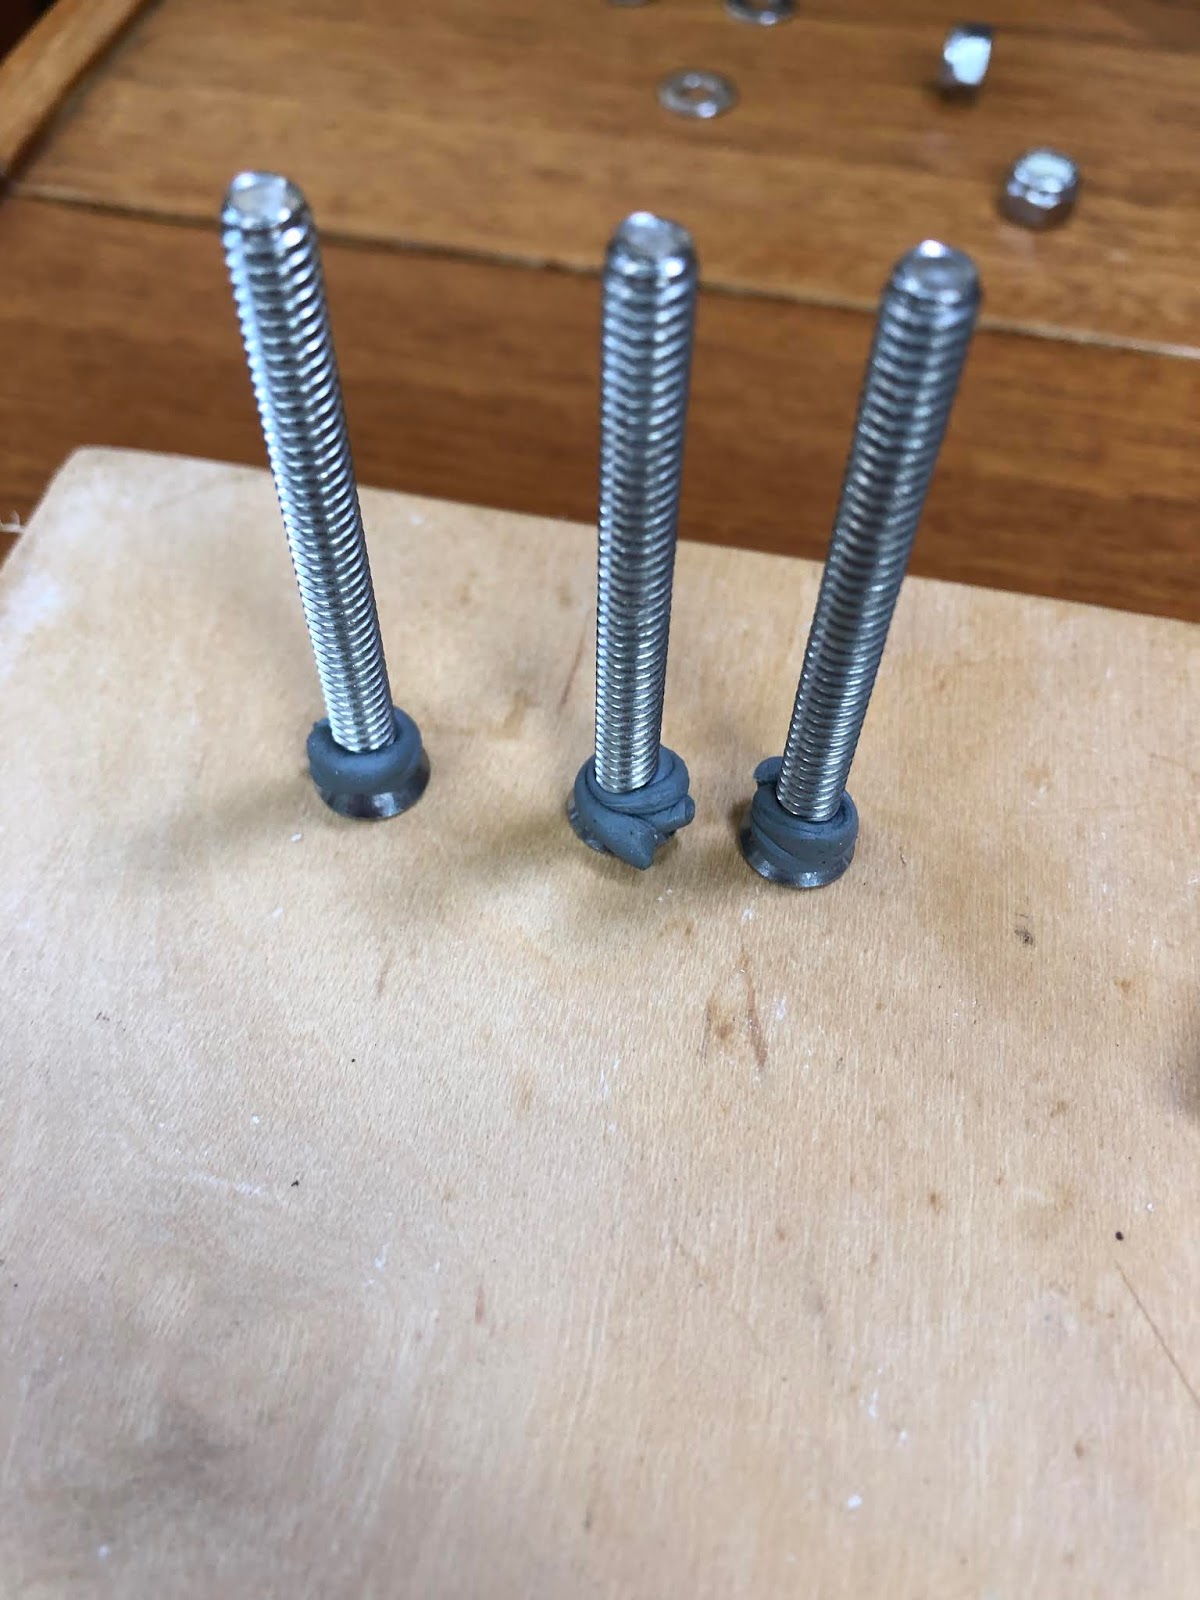
And the fitting and its screws were all bedded with butyl.


Diesel fill will be replaced at some point.
No comments:
Post a Comment
Comments and corrections welcome!